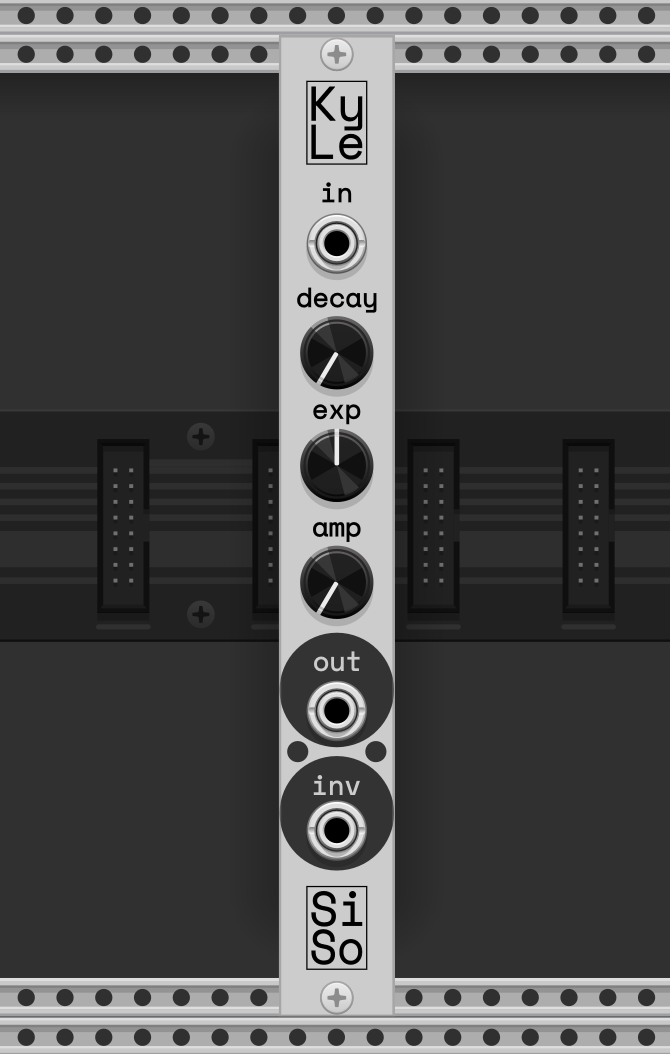
Feel free to check out this and other Silly Sound modules at the GitHub codebase (they’re well commented I swear). All of the code mentioned in this article can be found in src/Kyle.cpp
Also if you are wondering, Silly Sounds is a mock Eurorack module company that these plugins will be published under. The company has and will never have profits, but is also a fake company, so we are planned to meet our goals year over year.
What is it
Kyle is my third VCV Rack module published under Silly Sounds, and acts as an envelope detector for sidechaining off any waveforms. Give it any sound source as input, and you’ll be able to get a rough analysis signal for the waveform. You can edit the strength of the decay using the decay knob, and add a outward or inward curve using the exp knob.
The output signal from this module should nicely wrap around the top edge of the waveform, and you can then use the inverse output as a level control for any other module. You can also use the amp knob to scale up the output of the module if you want some more aggressive sidechaining.

How does it work
This module is explained best through my envelope detector article here, where I also go through the iterative workflow of this module. In this final version, the main equation looks something like this:
\begin{equation} \begin{cases} \text{input} & \text{if } \text{output}_{mod} <= \text{input} \\ \text{output} _{mod} * \text{delay} * e ^ {\text{exp} * t} & \text{if } \text{output} _{mod} > \text{input} \end{cases} \end{equation}
If the current output of the module is less than the input signal, we output the input signal. Otherwise, we decay the output by a set amount each sample, optionally multiplied by an exponential value growing with time. We also multiply this value by the amp parameter to scale it up/down. We also make sure that the output value stays between 0V and 10V from both the regular and inverse envelope values. In code, this is surprisingly simple.
// Add to the timer
t += sTime;

/*
    We decay the signal either exponentially if PEXP != 0,
    otherwise we decay linearly
    out - (decay * e^(exp))
*/
outVoltage = outVoltage - ((params[PDECAY_PARAM].getValue() / sRate) *
                            exp((params[PEXP_PARAM].getValue() * t)));

/*
    If the original signal is greater than our output voltage,
        currVoltage > outVoltage
    Set the output to the signal voltage. Otherwise, use the
    decayed output voltage
*/
if (currVoltage >= outVoltage)
{
    outVoltage = currVoltage;
    // Reset the time
    t = 0.f;
}
outVoltage = std::max(currVoltage, outVoltage);

// Amplify the output (maxing out at 10)
ampOut = std::min(10.f, abs(outVoltage * (1 + 9.f * params[PAMP_PARAM].getValue())));

// Set output voltages, accounting for amplification
outputs[ENV_OUTPUT].setVoltage(ampOut);
outputs[ENVINV_OUTPUT].setVoltage(10 - ampOut);
There is also some other outlier code to make sure that the module doesn’t leave a steady output value when not getting an input signal (for example, if the decay value was set to 0). It checks if the output value has been basically zero for half a second and zero’s the output:
// Add to the timer
t += sTime;

/*
    We decay the signal either exponentially if PEXP != 0,
    otherwise we decay linearly
    out - (decay * e^(exp))
*/
outVoltage = outVoltage - ((params[PDECAY_PARAM].getValue() / sRate) *
                            exp((params[PEXP_PARAM].getValue() * t)));

/*
    If the original signal is greater than our output voltage,
        currVoltage > outVoltage
    Set the output to the signal voltage. Otherwise, use the
    decayed output voltage
*/
if (currVoltage >= outVoltage)
{
    outVoltage = currVoltage;
    // Reset the time
    t = 0.f;
}
outVoltage = std::max(currVoltage, outVoltage);

// Amplify the output (maxing out at 10)
ampOut = std::min(10.f, abs(outVoltage * (1 + 9.f * params[PAMP_PARAM].getValue())));

// Set output voltages, accounting for amplification
outputs[ENV_OUTPUT].setVoltage(ampOut);
outputs[ENVINV_OUTPUT].setVoltage(10 - ampOut);
Conclusion and considerations
As also mentioned in the envelope article, there is always more to be added. Some of the main ones were adding in some min/max values to adjust where we’re watching for the envelope changes, and also taking polyphonic input to give one output envelope. This, as usual, is all dependent on use case and how useful these changes would be versus complicating. We keep this module simple, clean, and always looking for food, just like Kyle would want.